WORKSHOPS1
jueves, 10 de junio de 2021
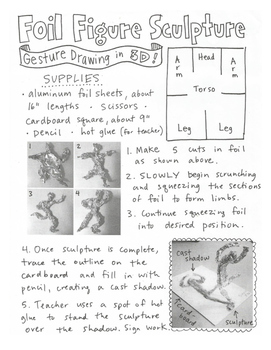
FOIL FIGURE SCULPTURE
miércoles, 24 de febrero de 2021
STILL LIFE
A still life (plural: still lifes) is a work of art depicting mostly inanimate subject matter, typically commonplace objects which are either natural (food, flowers, dead animals, plants, rocks, shells, etc.) or man-made (drinking glasses, books, vases, jewelry, coins, pipes, etc.).
With origins in the Middle Ages and Ancient Greco-Roman art, still-life painting emerged as a distinct genre and professional specialization in Western painting by the late 16th century, and has remained significant since then.
domingo, 21 de febrero de 2021
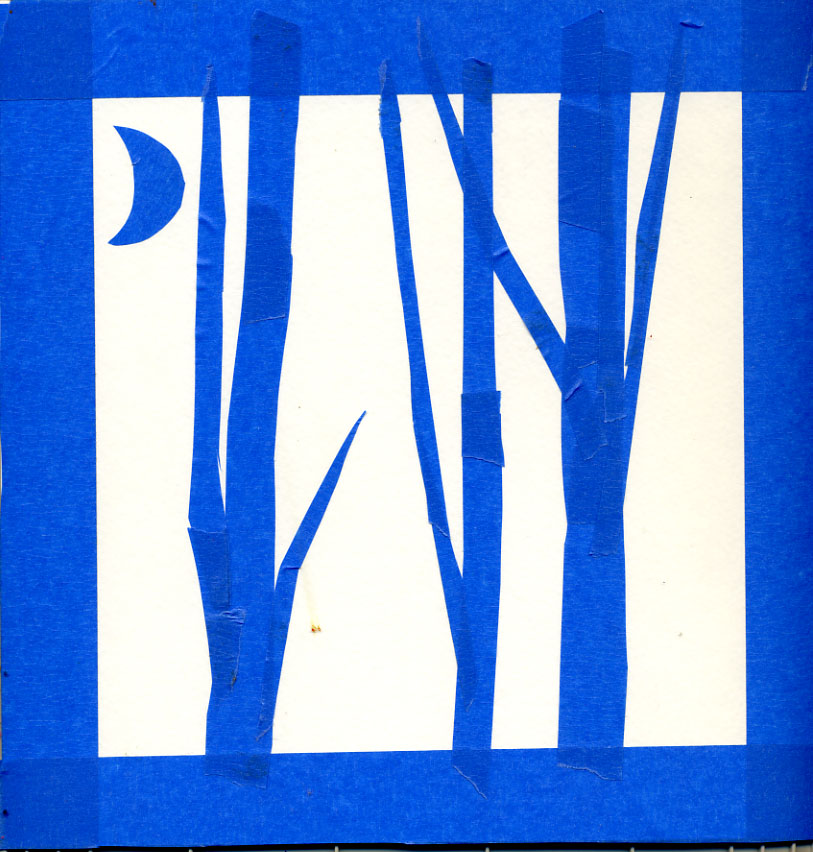
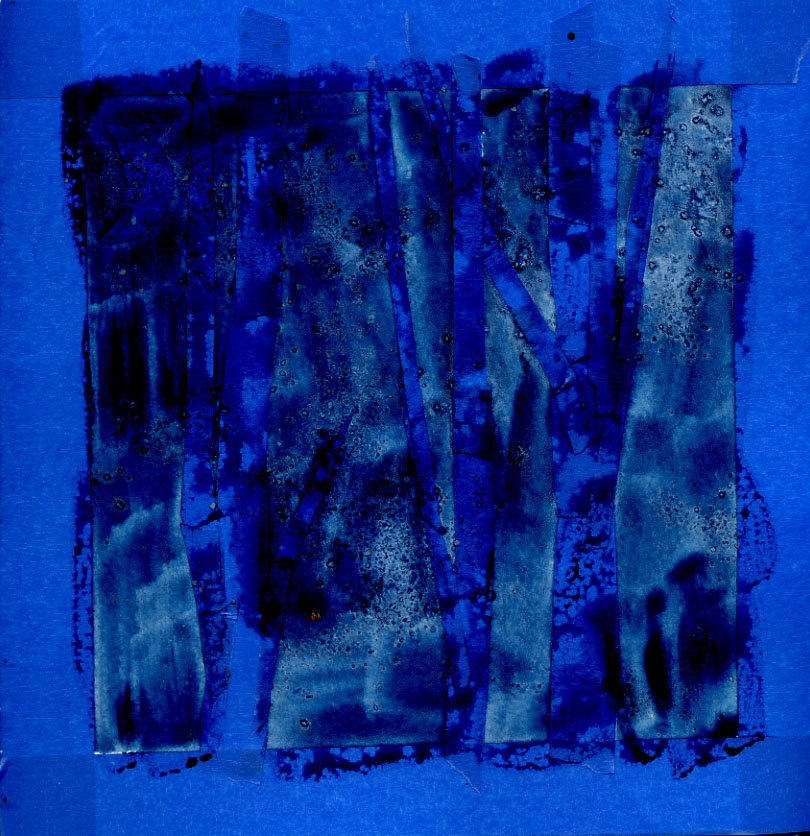
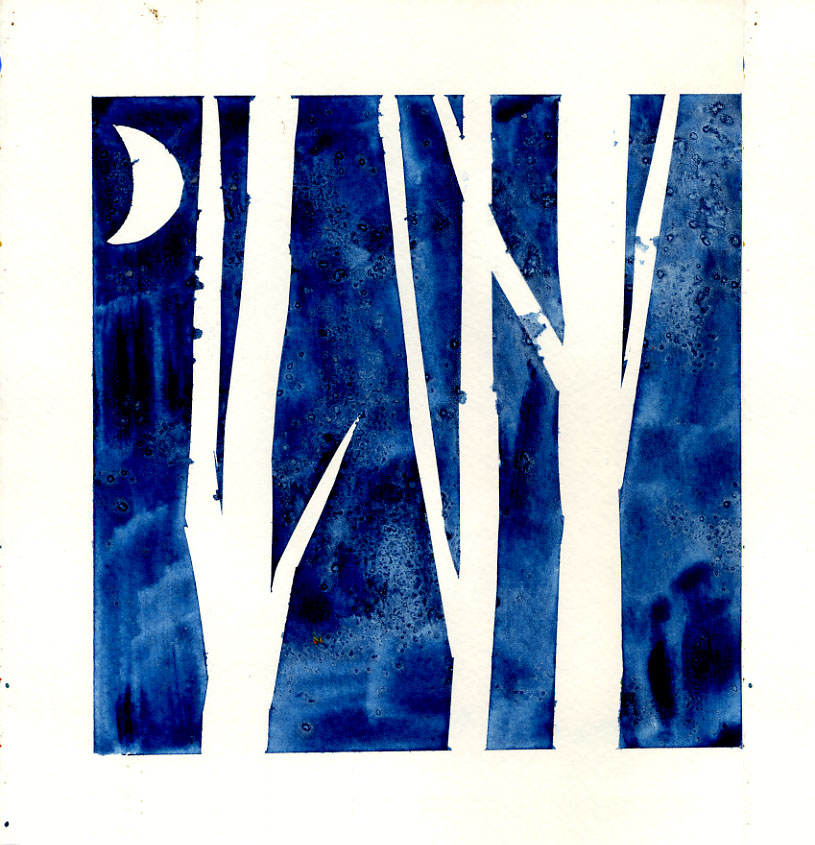
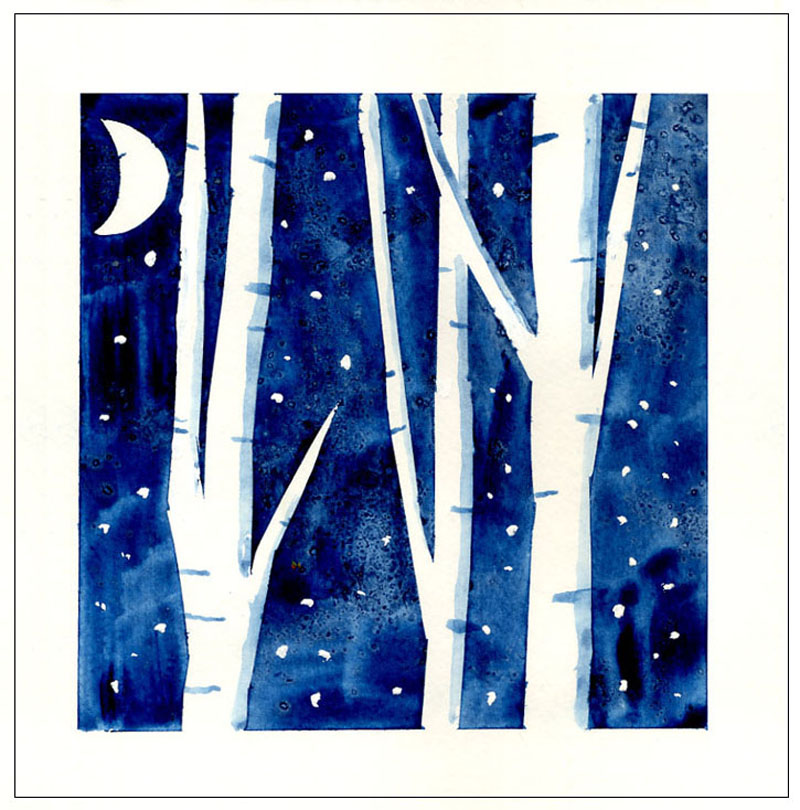
WINTER BIRCH TREES PROJECT
This birch tree art project uses tape to block off the tree shapes, and watercolor paint and salt to make the textured midnight sky.
MATERIALS
- Watercolor paper
- Painter’s tape
- Scissors
- Liquid watercolor paint
- Salt
- Acrylic paint, white
STEPS
1.-Tape a border and trees.
2.-Paint a blue wash and sprinkle salt. Let dry.
3.-Carefully remove tape.
4.-Paint blue stripes, shadows. Add white snow.
domingo, 31 de enero de 2021
LEARN TO COLOR LIKE VAN GOGH
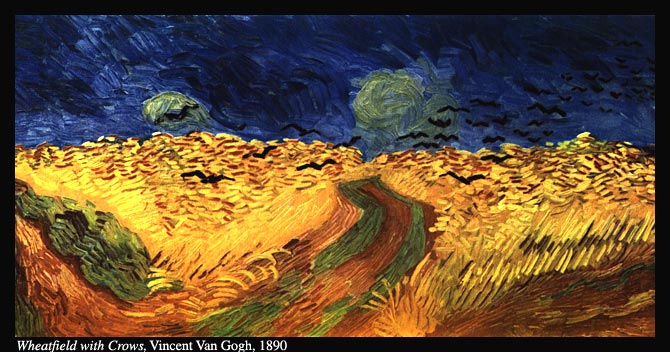
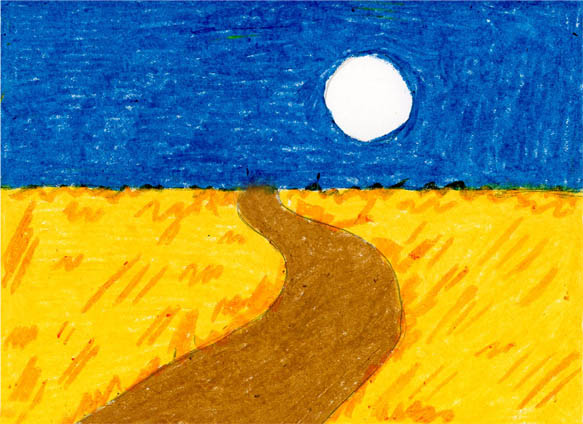
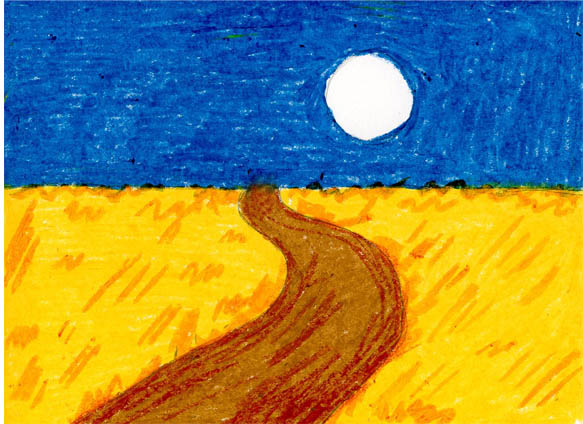
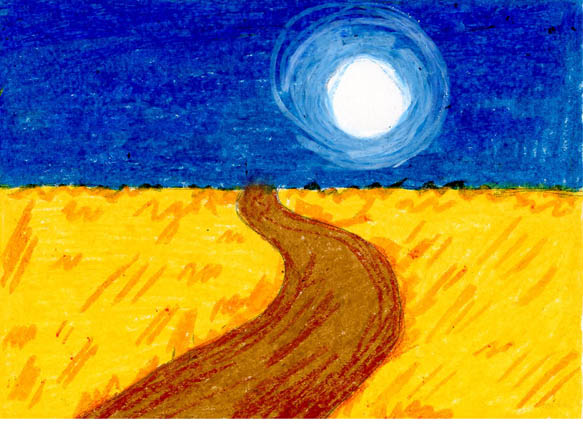
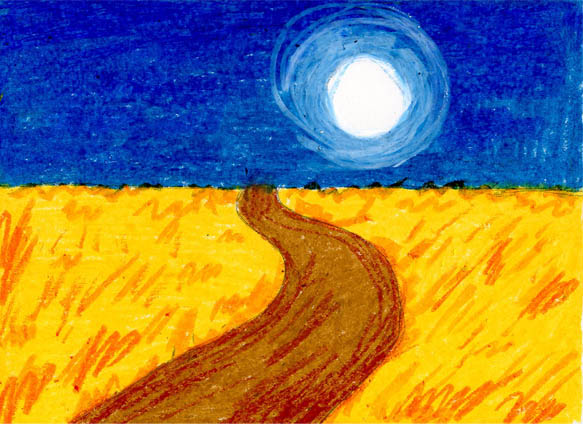
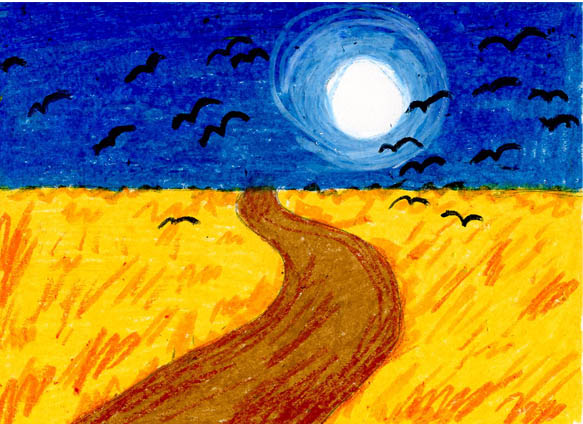
We are trying this Van Gogh for kids Art Project by imitating his “Wheat Field with Crows” painting with some soft crayons.
Van Gogh was famous for painting in a really super thick manner, which gave him lots of texture.
You can get a similar look just by making a ”sketchy“ drawing with soft crayons.
This project is a simplification of Van Gogh’s original composition, but it uses a similar palette. He was a master of color, and you can’t go wrong by following his choices.
MATERIALS
- Van Gogh Wheatfield PDF Tutorial
- Drawing paper
- Soft crayons
DIRECTIONS
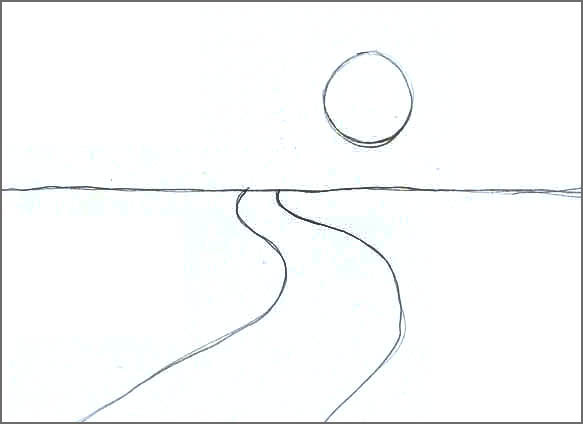
1. Draw the horizon line, road, moon in pencil.
2. Color with yellow, brown and blue crayons.
3. Draw squiggly grass lines with an orange crayon.
4. Draw sketchy road lines with a rust crayon.
5. Add darker blue crayon to sky. Circle moon with white.
6. Add a few more grass lines with a darker orange crayon.
7. Use black crayons to draw large and small flying crows.
domingo, 10 de enero de 2021
WINTER TIME
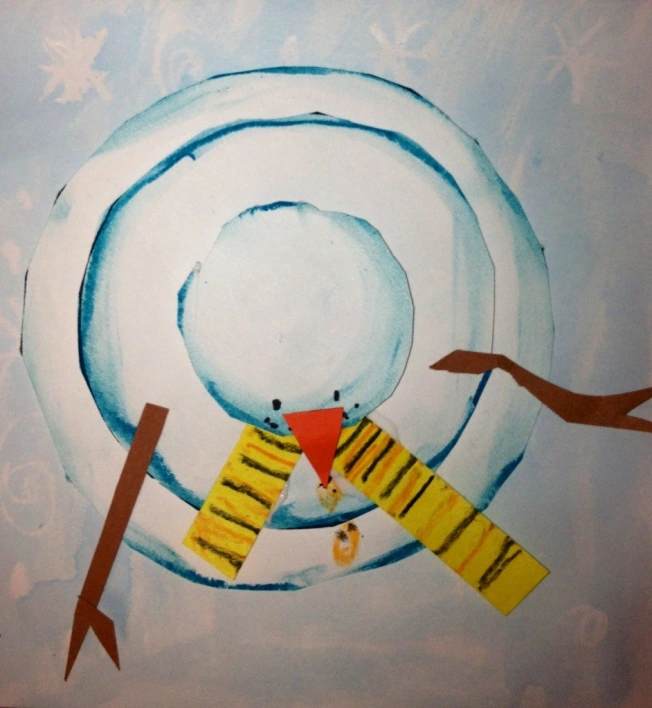
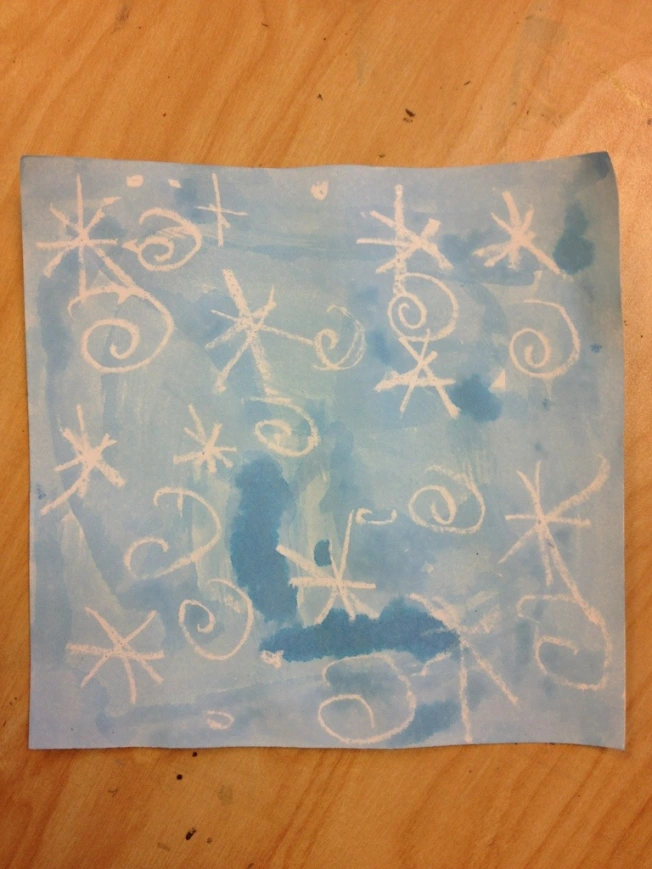
You start to make the background on your block.
Then you add snowflakes and swirls and dots with a white crayon and then paint with blue watercolor.
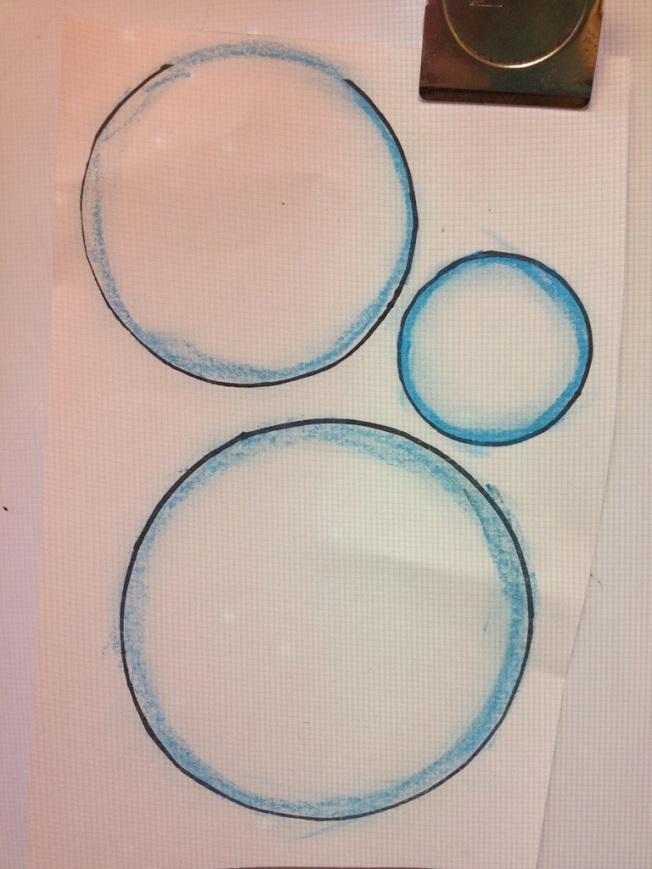
Then you use oil pastels to draw a circle inside each of your snow balls.
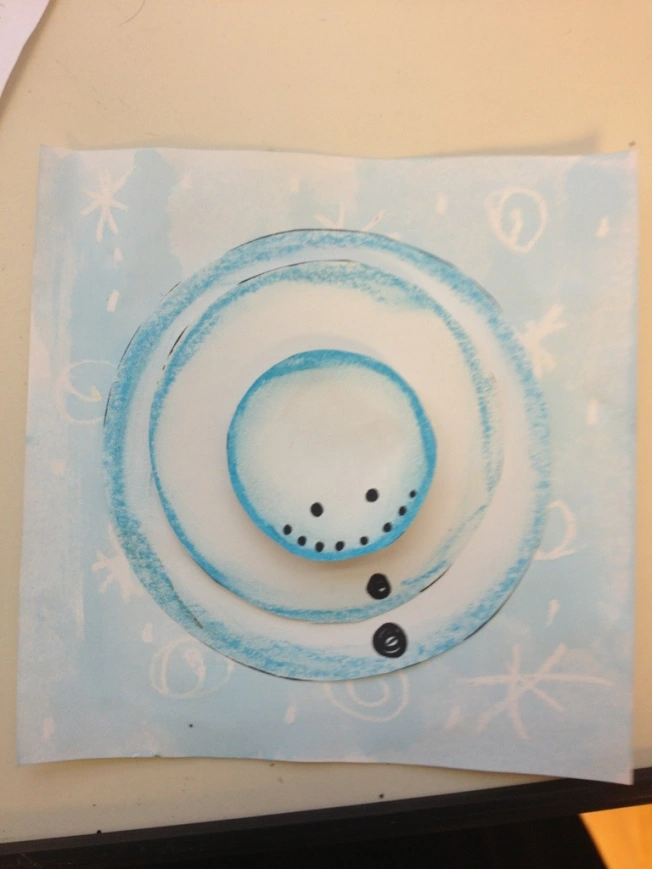
You use our fingers to smudge around the edges to give it a more 3d quality.
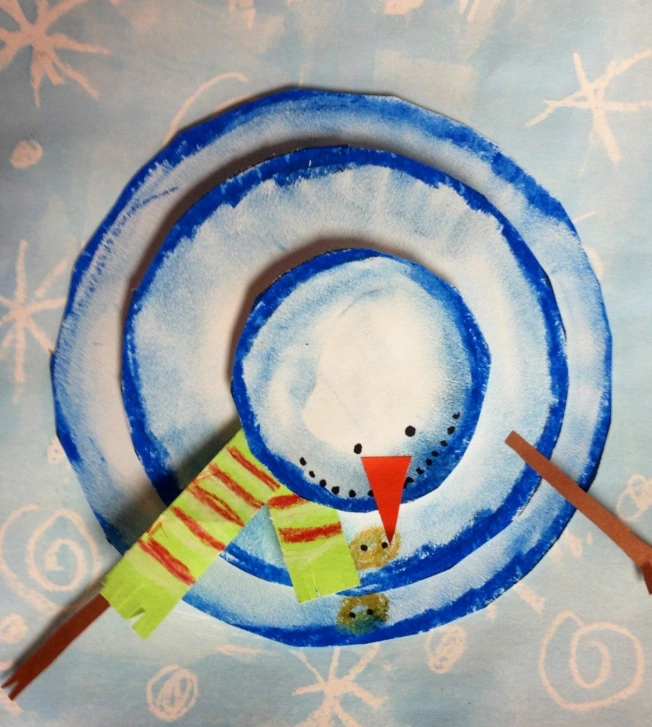
Next, you cut your circles out and glue the biggest to the background.
You finish adding the details of the carrot nose, stick arms, and the scarf! Can’t wait to see all the personalities emerge!
domingo, 20 de septiembre de 2020
ZENTANGLE AUTUMN LEAF
First, it’s helpful to familiarize yourself with all of the elements of art, that's why let's read this poem by M.C. Gillis
Explore this video to learn more about the benefits and beauty of the Zentangle Method and our nourishing world-wide Zentangle community.
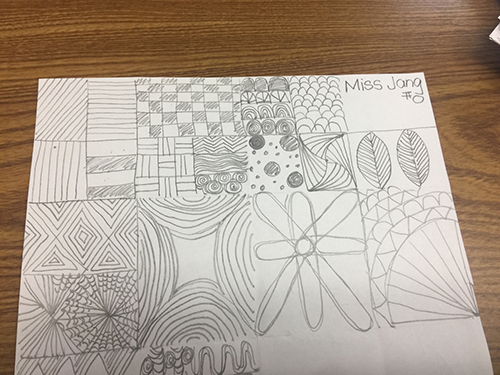
So how do you get started? First, practice different line designs on a plain white paper. We folded the paper into some sections to introduce zigzags, stripes, dots, wave, spirals... After practicing the designs, I let students create some of their own patterns and designs.
domingo, 13 de septiembre de 2020
BEHIND MY MASK, A SUPER KID SELF-PORTRAIT !
THese can be the results
